Recently, a large number of API Keys or accounts have been blocked because of OpenAI’s risk control. Because Cloudflare is barely a cloud service provider, and requesting APIs from cloud service providers is a normal operation, so using Cloudfalre Worker proxy address will theoretically reduce the probability of being banned.
The main idea of this solution is to use Cloudflare’s workers to proxy OpenAI’s API address.
Using this program requires that you have the following things:
A Cloudflare account (of course you can also register now)
brief description
- Create a new Cloudflare Worker
- Paste the below code into Worker and deploy
- Use your own domain name or the default domain name of the worker instead of
api.openai.com
code:
export default {
  async fetch(request) {
    const url = new URL(request.url);
    url.host = 'api.openai.com';
    return fetch(url, { headers: request.headers, method: request.method, body: request.body });
  },
};
If there is a problem with the specific steps, you can refer to the detailed version of the tutorial below.
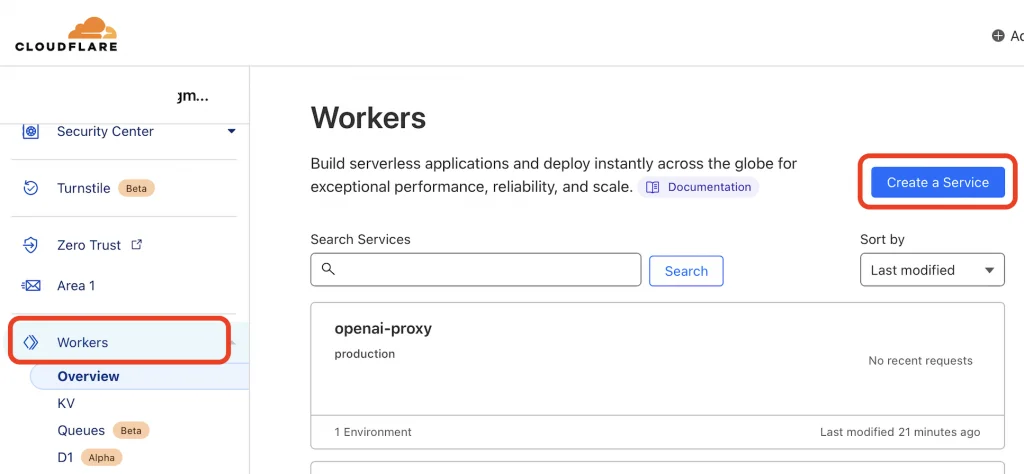
1.Create a new Cloudflare Worker
After logging in to Cloudflare’s administration interface, click the “Workers” option in the sidebar, and then click “Create a Service” to create a worker.
Then enter “Service name” in the creation screen and click the “Create Service” button to create a new worker. ” item is left alone.
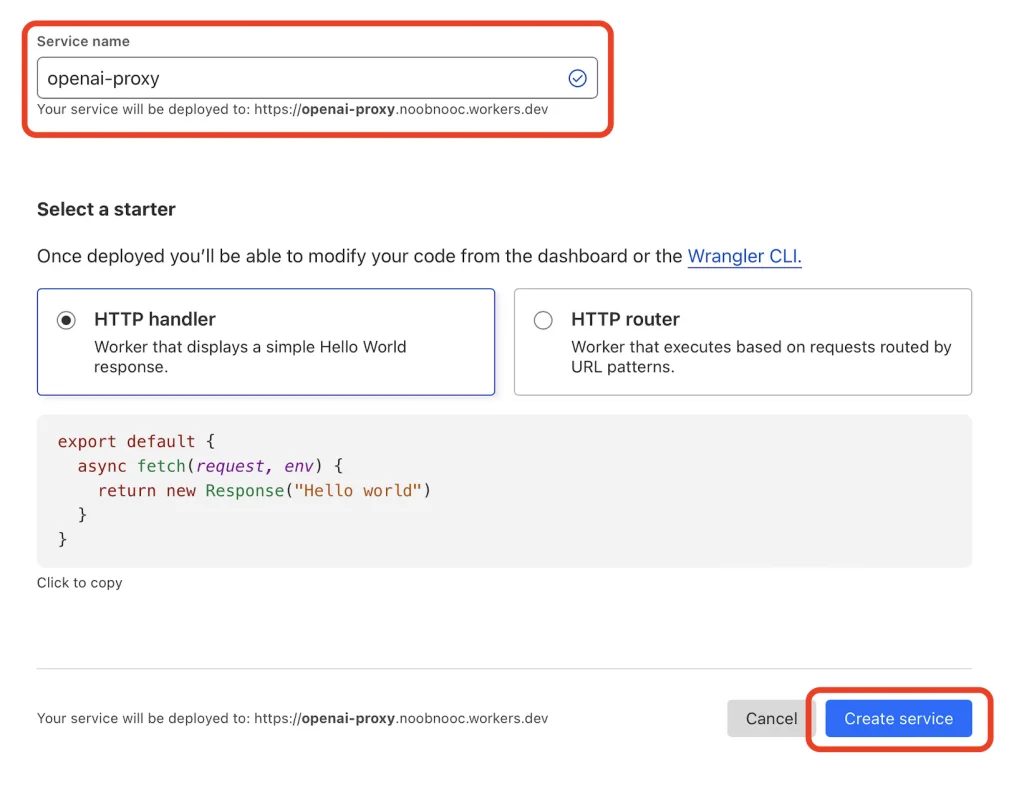
So far Cloudflare’s Worker is created, the following began to modify the code of the Worker, so that it can proxy OpenAI API.
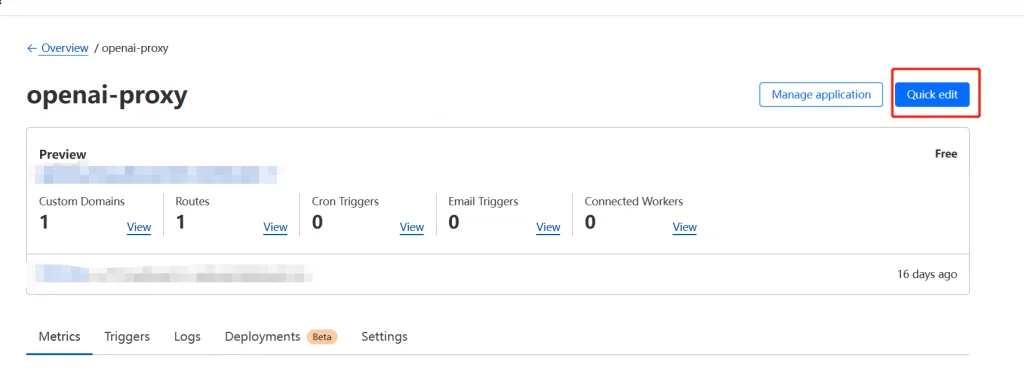
2.Modify the code of Cloudflare Worker
In the Worker’s administration screen, click the “Quick Edit” button in the upper right corner to edit the code of the Code Worker.
In the code editor on the left, delete all existing code and then copy and paste the following into the code editor:
export default {
  async fetch(request) {
    const url = new URL(request.url);
    url.host = 'api.openai.com';
    return fetch(url, { headers: request.headers, method: request.method, body: request.body });
  },
};
Finally, click the “Save and deploy” button in the bottom right corner of the editor to deploy the code, and continue to select “Save and deploy” in the pop-up dialog box to confirm the deployment.
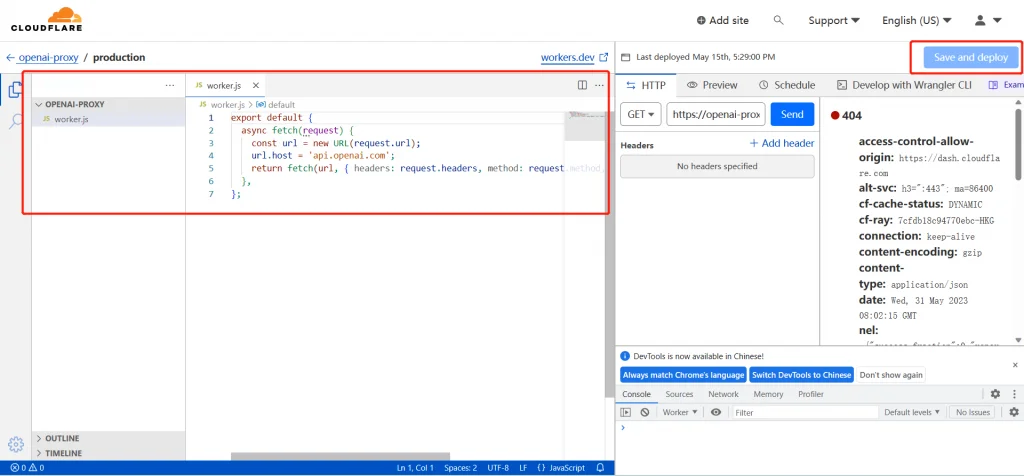
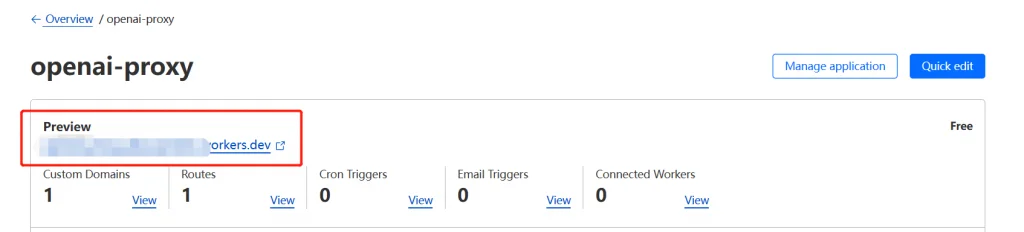
At this point, you can use the worker’s address instead of the OpenAI API address. For example, if you want to request the ChatGPT API, replace https://api.openai.com/v1/chat/completions with https://openai.workers.dev in the official documentation (note that this address does not exist, you need to replace it with the address of the worker you just created). (note that this address does not exist, it needs to be replaced with the address of the worker you just created).
This address can be found in the red box in the image below.